

How To Group Lines In Revit
Here are my summit 12 tips for utilizing Revit groups. Ten was just not plenty. In my opinion, groups can be the most driveling tool in the toolbox. So why do nosotros use them?
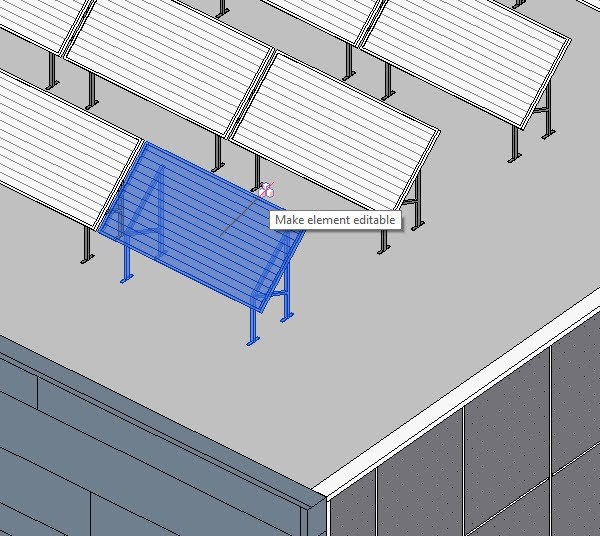
Well, it seems to exist a no brainer. Like in AutoCAD, architects, MEP engineers, and construction professionals create groups of repetitive and withal however quantifiable elements as if they were individual elements. Change one instance of the group, and Revit will update every example of that group in the unabridged project. One can even exclude an chemical element from a group instance to make an exception. Select the group, hover over an element in the group, and tab in until the specific element is highlighted, then left-click. That element now displays a symbol, which will permit us to exclude it from this group instance. See the epitome beneath. This does non make this group a new grouping. Pretty cool.
Of course, groups can exist made in CAD, only in Revit, groups are broken down into model groups and particular groups. Detail groups for annotation, text, and detail items similar ii-dimensional detail components. Recall clips, brick, or flashing. These groups tin can be exported out to the library and imported as groups into other projects. Model groups typically hold Revit families. The ii types of elements, detail and model, cannot be created in the same group. They are managed separately. Let'southward now hash out the methods of creating groups and the various benefits of doing and so.
How to Group in Revit
Create a group by selecting elements or existing groups and using the Create Group tool.
- In a project view, select the desired elements or existing groups you want in the grouping.
- Click Alter | Multi-Select tab Create console (Create Group).
Notation: If you have only selected ane element type, the corresponding Change | <Element> tab displays instead of the Multi-Select tab. - In the Create Group dialog, enter a name for the grouping.
Note: The proper noun of this dialog will vary depending on the types of elements you selected. - If you lot desire to open the grouping in the group editor, select Open in Grouping Editor.
The group editor allows you lot to add or remove elements from a group, adhere particular groups (for model groups), and view group properties. - Click OK.
Over the years, Autodesk and the Building Information Modeling (BIM) team have improved this excellent tool. This process to edit a group is as elementary as a double click, merely they have not made groups more flexible. If we create a group the wrong way, Revit gets upset. You lot don't want to run into Revit upset. In actuality, Revit gets confused. The main problems occur when groups contain elements that are constrained outside the group. In the simplest form, if one were to create a group of elements, including a door, the wall where the door is hosted would need to be within that grouping. The wall could have a top constraint that does non use to all instances. It is besides mutual to create groups for casework that rely on the walls for placement, but the walls are not part of the group. In class, you may have heard me say, groups should be "cocky-centered." These types of constraints tin also cause problems in Design Options.
That being said, yep, there are restrictions that one should exist aware of when implementing the use of groups throughout a big AEC project.
Hither are 12 Top Near Useful Tips on How to Utilize Revit Groups
- Put elements and their hosts in the same group.
- Ensure all elements in the group are hosted to the same level.
- Some elements may not behave correctly—line-based families, for instance.
- Don't constrain elements outside the grouping. There are many kinds of constraints.
- Un-constrain the elements within the grouping, so they are no longer tied to elements outside the group.
- Large numbers of elements in a group will hinder performance and mayhap cause corruption.
- It is better to have many small groups than a few big groups.
- Don't nest Groups. Don't have groups within groups.
- If you see a alarm asking you to gear up the groups, don't.
- Fixing the group doesn't fix the group. Information technology explodes it or creates a new group that is no longer referenced to the first group.
- Name groups correctly. Don't make copies of groups chosen Group1.
- Although we are now able to mirror groups, some elements with constraints however cause problems when mirrored. Ceilings in groups get confused when mirrored.
- Take ownership of the group type workset when editing.
- All elements in a group reside on the grouping instance workset.
- Be enlightened of the buying of type properties.
- Be cautious putting floors or stairs in groups. Don't lock the sketch lines to other objects.
- Groups can be used to distribute elements and then tin can be ungrouped.
- For instance, we apply the assortment command to make multiple copies. The default choice is to "Group and Associate." Ungroup them when complete.
Benefits of Revit Groups
We all should be considering what content from our successful Revit projects can be shared with the office and used in current and future projects. In the past, the Revit group had its file format. I'm dating myself now. Currently, Revit saves model elements as RVTs or Revit project files. These files can be loaded into the projection and placed as groups. In the family surroundings, groups can be saved as RFA, Revit family files.
Y'all can salve a grouping equally a project file (RVT) if you piece of work on a projection or a family file (RFA) if yous are working in the Family Editor.
- Click File tab Salvage As Library (Group).
- By default, the File name text box displays "Same as the group name." If y'all accept this proper noun, Revit saves the file with the aforementioned name as the grouping. So a group called Group 5 saves as Group 5.rvt (or Grouping v.rfa). If desired, you can change this name.
- If your project has multiple groups, select the advisable group from the Grouping to Save drop-down.
- Specify whether to Include attached particular groups as views.
- Click Save.
Summary
Revit'due south group tools and functionalities are powerful if used carefully and thoughtfully. Getting the right training and having an organized approach is everything. Go forth and make groups as long as you and the squad have a plan in place.
In a previous postal service, I discussed, "What Causes Revit Data Corruption?" and some model maintenance suggestions, " Revit Project Maintenance Guidelines ." I hope you find this article and those listed hither helpful. I welcome you to reach out with questions or comments anytime.
Credits: About Best Practices for Groups from Autodesk Knowledge Network; Best Practices with Revit Groups: Dominion #1 past Sean D Burke
INDUSTRIES: Architecture, Buildings, Construction, MEP Engineering, Structural Technology
Source: https://microsolresources.com/tech-resources/article/top-12-tips-for-utilizing-revit-groups/
0 Response to "How To Group Lines In Revit"
Post a Comment